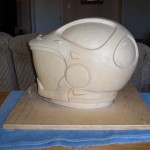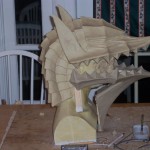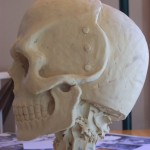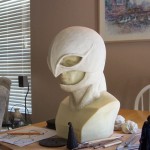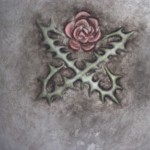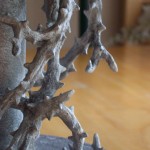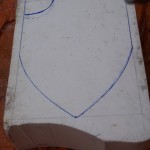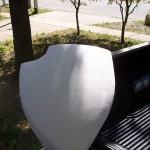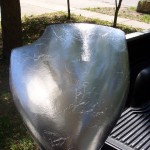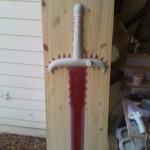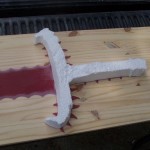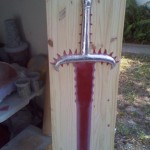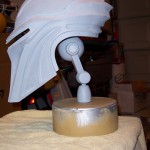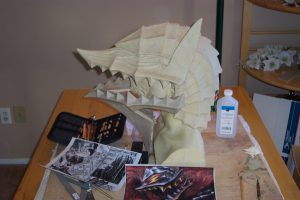
Berserker, Guts’ Armor clay sculpture
Sculpting 101: Choosing What To Use For Your Masterpiece
This post is an introduction to different media you can choose from to make your project. I highlight mostly what I’ve used in the past and I’ll tell you now that there are many more different ways to “make an omelet” so I can’t say I’ve given you all the materials you can choose from. I believe these ways are still the most popular so you will probably already have an understanding about what I’m talking about in each section. The order of appearance down the list doesn’t reflect importance of use either. You may also have an idea already what you want to use.
Modeling Clay
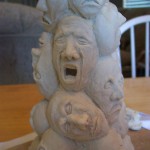
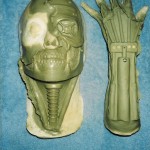
Oil based modeling clay is my preference for projects with great detail and jobs that will require molding for producing a rugged final piece. Clay is easy to work with and you can quickly change shapes and texture with a push of your thumb. A stiffer clay is designed for holding refined detail, where a softer clay for ease of making big shapes. I usually go with the medium clay that has some properties of both.
If you are making a large sculpt, such as a helmet or a slender project with protrusions, an armature or structure is needed to wrap the clay around for stability. Stability is not really needed for the large i.e. helmet sculpt, but taking up a lot of space on the inside of the mass will save on using a lot of clay.

Taking up space inside mass of large sculpt to save on clay and keep sculpt lighter in weight.

Wire armature for structure and stability.
I mentioned oil based here in the beginning because you can walk away from the sculpture for days at a time without worrying about the clay drying out or cracking like in water based clay. My clay of choice that I use most often is Chavant NSP (non- sulfur-plasteline) medium.
Tools needed:
- Hands and fingers–80% of what you use on clay will be what you do with your bare hands.
- Clay sculpting tool kit
- Rolling pin
- Rubber mallet
- Various stiff sponges and rubber coarse stamps for pressing in texture detail
- 90% isopropyl alcohol and stiff small brush for smoothing out finished sculpture
Super Sculpey

Various LOTR 1/8 scale trolls, last one on the right WIP Super Sculpey armor.
I’ve always known Super Sculpey to be a form of clay for statues and smaller scaled projects. It’s advantage is after you’re done with your sculpture you bake it and it becomes hard which can be considered a finished project after painting. It comes in several colors and if you get the beige and are sculpting a human form its color remains an almost near perfect shade of flesh after baking properly. It also has different densities for detail sculptures. Once baked hard you can also sand drill and tool it for further workability.
An armature applies here as well for a stable work piece. Keep in mind you’ll be baking it so what you use has to handle the heat. I’ve twisted aluminum foil together, with some wire, real tight as a type of armature and it works well to conduct the heat on the inside for real thick areas of Super Sculpey.
Tools needed:
- Much of the same tools will be used here as in the modeling clay section above
- Clay softener for Super Sculpey and small, stiff brush to smooth final details.
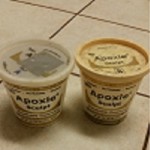
Aves Apoxie Sculpt
Aves Apoxie Sculpt is almost like duct tape with it’s many uses. It is a two part equal mix that becomes harder to rock hard after 24 hours. I haven’t done an entire sculpture in it yet, but I know some artists who prefer it to be the soul material for their piece. I love it for it’s strength and workability after it hardens. Ways that it can be used for varies from sculpting, bonding pieces together, filling in voids or holes, and even stopping leaks as it was originally designed as a plumber’s paste for water pipes. It, like Super Sculpey above, can be sanded, carved, filed, and drilled after it becomes hard.
As you work with the material after mixing (follow directions how to mix on the containers) you’ll notice it will start to get warm from the chemical reaction, and it will feel more and more stiff at different stages of the reaction. You’ll find you’re own preference of workability as time goes by. It will hold detail a lot better as it gets closer and closer to becoming hard. Simple water is used to smooth the surface. I always have a cup of water with me while working with the stuff and continually wet my hands to prevent the material from sticking to my skin. The Aves company recommends wearing gloves, but I personally can’t work with it wearing them.
Tools needed:
- Much of the same tools will be used here as in the modeling clay section above
- Water is used for smoothing substrate
- Sand paper and files for after it becomes hard
EPS Foam
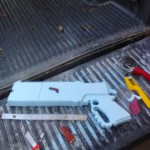
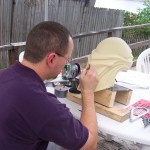
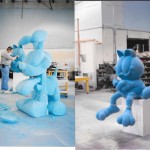
EPS (expandable poly styrene) or Styrofoam is another favorite of mine–except for the huge mess it leaves after carving. If you have an extra large project to make, EPS foam is perfect because of how light and versatile it is to work with. It can also be quite challenging as well. You will be summoned to hone in a different set of sculpting skills than clay as with foam you’re taking material away or removing to get your shape. Clay mostly requires you to add on and shape multiple building-up layers. Imagine you’re Michelangelo chiseling away marble or stone from a huge slab to get a shape you see on the inside.
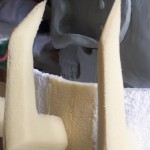
With foam you can cut, chop, saw, slice, chainsaw, file, sand, and even control melt/burn to achieve your desired output. If you burn or cut foam with a hotwire or hot iron WEAR A MASK OR VENTILATOR! The fumes are hazardous to breath in. The advantage of being able to burn your cuts is that there is no foam bead mess. It just melts to itself cleanly.
You’ll notice some of the pics for EPS foam above shows some examples with aluminum foil wrapping and sealing the finished foam form. This is to protect the foam from the fiberglass resin that I coated it with to make a hard shell for molding purposes. Foam has a few chemical enemies that immediately melt and pit the surface of the foam upon contact.
Tools needed:
- Hand saw and/or keyhole saw
- Utility knife, old kitchen knife, exacto blade
- Depending on size or scope of project an electric chainsaw
- Rasps, horse brush
- Sandpaper coarse (40 grit) for shaping, fine (180 grit) for smooth finishing
- Hotwire for burn cuts
- Hot iron for large burn cuts or “hogging” out large sections
Urethane Foam
Urethane foam has a remarkable property that allows you to capture incredible sharp detail into your sculpture. The cells are much closer together than in EPS foam and the beads and/or structure of the foam is finer. This makes for easier cutting and tooling the surface.
What I love most about this type of foam is that I can polyester resin coat my finished sculpture right on top of the foam without having a protective layer as you would for Styrofoam. Having a tough “candy coating” shell helps protect the foam sculpture for the next step in the process. For my cylon head, I then bondoed some of the line detail back in and then sprayed it with a high building polyester sandable primer to finish him off before molding. Here he is getting ready for the molding process after a high gloss paint job:

Smooth “candy coated” shell over urethane sculpture before molding.
Tools needed:
- Much of the same tools are needed as with EPS Foam
- Dust mask required because of the tiny foam dust is hazardous to breath in
Eva Foam and Floor Mat Foam

Floor mat foam material for Tavion Cosplay by Damaris Degen of Mystiques World of Cosplay
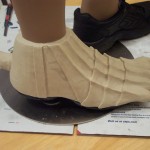
If you’re a serious cosplayer, you should know all about EVA foam. It’s the most popular choice for comfort because it’s so light and soft to wear–not to mention it’s incredible properties with flexibility to take any shape over body parts and holding details cut into it. I’ve seen some wonderful armor builds that would fool almost anybody to believe it’s real armor.
One tip I learned that I found important is know your cut. Another words cut out templates out of card stock or cardboard first and test fit on a form or yourself somehow and then transfer the correct shape onto the foam before cutting. You’ll save time, money and head aches.
Hot glue is my choice of glue for connecting the foam to itself, plastic, and strapping. However, a real cool affect I’ve used for armor builds is hammering large snaps to connect layers of armor together where the exposed snap looks like armor rivets.
Floor mat foam is a similar form of EVA foam and can be treated the same way for your builds. The picture provided here for Eva and floor mat foam is from my friend Damaris Degen of Mystique’s World of Cosplay on her build for her Star Wars Tavion Cosplay. I suggest following her because she’s fantastic, and keeps no secrets how she does her magic.
Tools needed:
- All sharp cutting hand tools–scissors, utility knife, breakaway blade knives
- Cutting board or hard smooth surface, straight edge guides
- Dremmel tool for carving in details
- Hot glue gun with hot glue sticks
- Heat gun for shaping foam around contours (i.e. body parts…be careful, extremely HOT or do on a mannequin)
- Rulers, tape measures, tailor tape measure
- Plasti-Dip spray coating for giving the foam a hard candy coat finish when complete.
- Body forms or mannequin
PVC Pipe, Shapes and Board (Sintra)
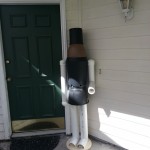
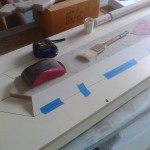
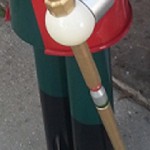
I have the greatest success with PVC shapes and boards for jobs that need a quick turnaround or projects that show me faster results and progress. There are so many pre-fabricated shapes available in PVC such as all the different diameter pipes, plastic planters and bowls (which I used on my Life Size Nutcracker), and various thickness of PVC boards or sintra that is easy to cut.
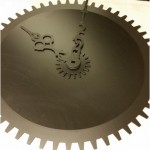
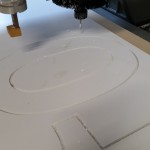
I must confess that after starting to work at Vital Signs of Orlando, Inc I now have the advantage of a CNC router table for exact cut shapes out of sintra board, such as the clock arms and gears above pic.

Computer controlled cutting table
Tools needed:
- Hand saw, hack saw
- PVC Cement for gluing pipes and/or layers of board together
Wood
I’m assuming that the first material ever used for 3D art was probably wood. I’m also assuming most people, if you’re my age, had wood shop in middle/high school and got to make a bird house. Everyone, I’m sure, has had some kind of experience with wood in their lifetime. I like working with wood because there are so many tools made or invented just to deal with certain aspects of it by either cutting, filing, carving, drilling, gluing, screwing, and even staining and painting.
Wood is incredibly easy to manage with experience and has so many uses. It is also readily accessible from many local sources such as Lowe’s, Home Depot, and Ace Hardware stores.
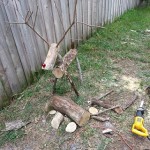
Looking at the gallery of photos above can give you an idea of how I have used wood before including using branches of a tree on my log reindeer.
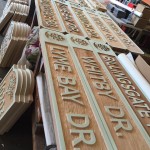
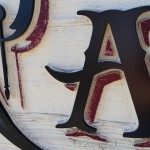
I’ve learned a fascinating new technique since working at a sign shop which is sandblasting. Here, the face of a cedar board gets sandblasted to get a desired woodgrain and custom signage. Anything on the board that is to remain the surface of the original board gets a rubberized, tough, masking material that causes the sand to bounce off and not penetrate the surface of the board. Anything not masked off gets pushed back and the beautiful woodgrain is exposed. See sign pics above.

Compressor, sand, tanks, air hose, gloves, hood, and sand
Tools needed:
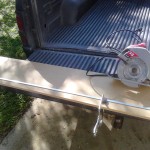
- Manual hand or power saws (circular saw, jig-saw, chop saw, reciprocating saw, etc..)
- Drills and drill bits, hole saws for use with drills and paddle bits
- Files, chisels and sandpaper
- Bar clamps and large vice-clamps
- Wood glue
- Planer
- Wood lathe for spinning wooden dowel rods and filing specific shapes (i.e. baseball bat)
- See above picture for sandblasting
Metal
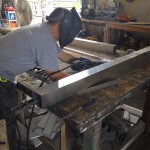
Metal can be cumbersome because of it’s weight and difficulty in cutting, shaping and bringing together by welding if you don’t have the experience or the right tools. But, nothing beats the real thing and I’m betting most replication in cosplaying armor and weapons or faux finishing is trying to copy metal’s appearance.
Some metals however can be easier to work with like aluminum and copper because they are lighter and softer. Aluminum is my choice of metal that I have most experience with, which happens to be the choice of metal I use most often in my job as a sign fabricator.
The choice of metal for the fandom culture probably isn’t wise as a cosplay piece for safety reasons. I can’t imagine wielding a real sword, at a Con, being Guts from Berserk manga as monstrous as his prop is. But a real metal sword hanging on a wall with all your other collectibles and props is paramount.
Tools needed:
- Metal cutting saw blades on power saws
- Cutting torches (oxy-acetylene, plasma)
- Wheel grinders
- Welder-stick, mig, tig
- Safety gear for heat and light (gloves, dark cutting shades and welding helmet)
Again, I haven’t shared everyway or everything you can use to build your projects from and if there is anything you believe important I left out with even talking about the materials highlighted here, please feel free to comment below and I will incorporate your ideas here. Thanks for hanging out here for a while and good luck on your next project! I’d love to see what some of you all are making and using to create your Masterpiece!


